Libove Blog
Personal Blog about anything - mostly programming, cooking and random thoughts
Notes
Bookmarks
Recipes
Photos
Blogroll
Search
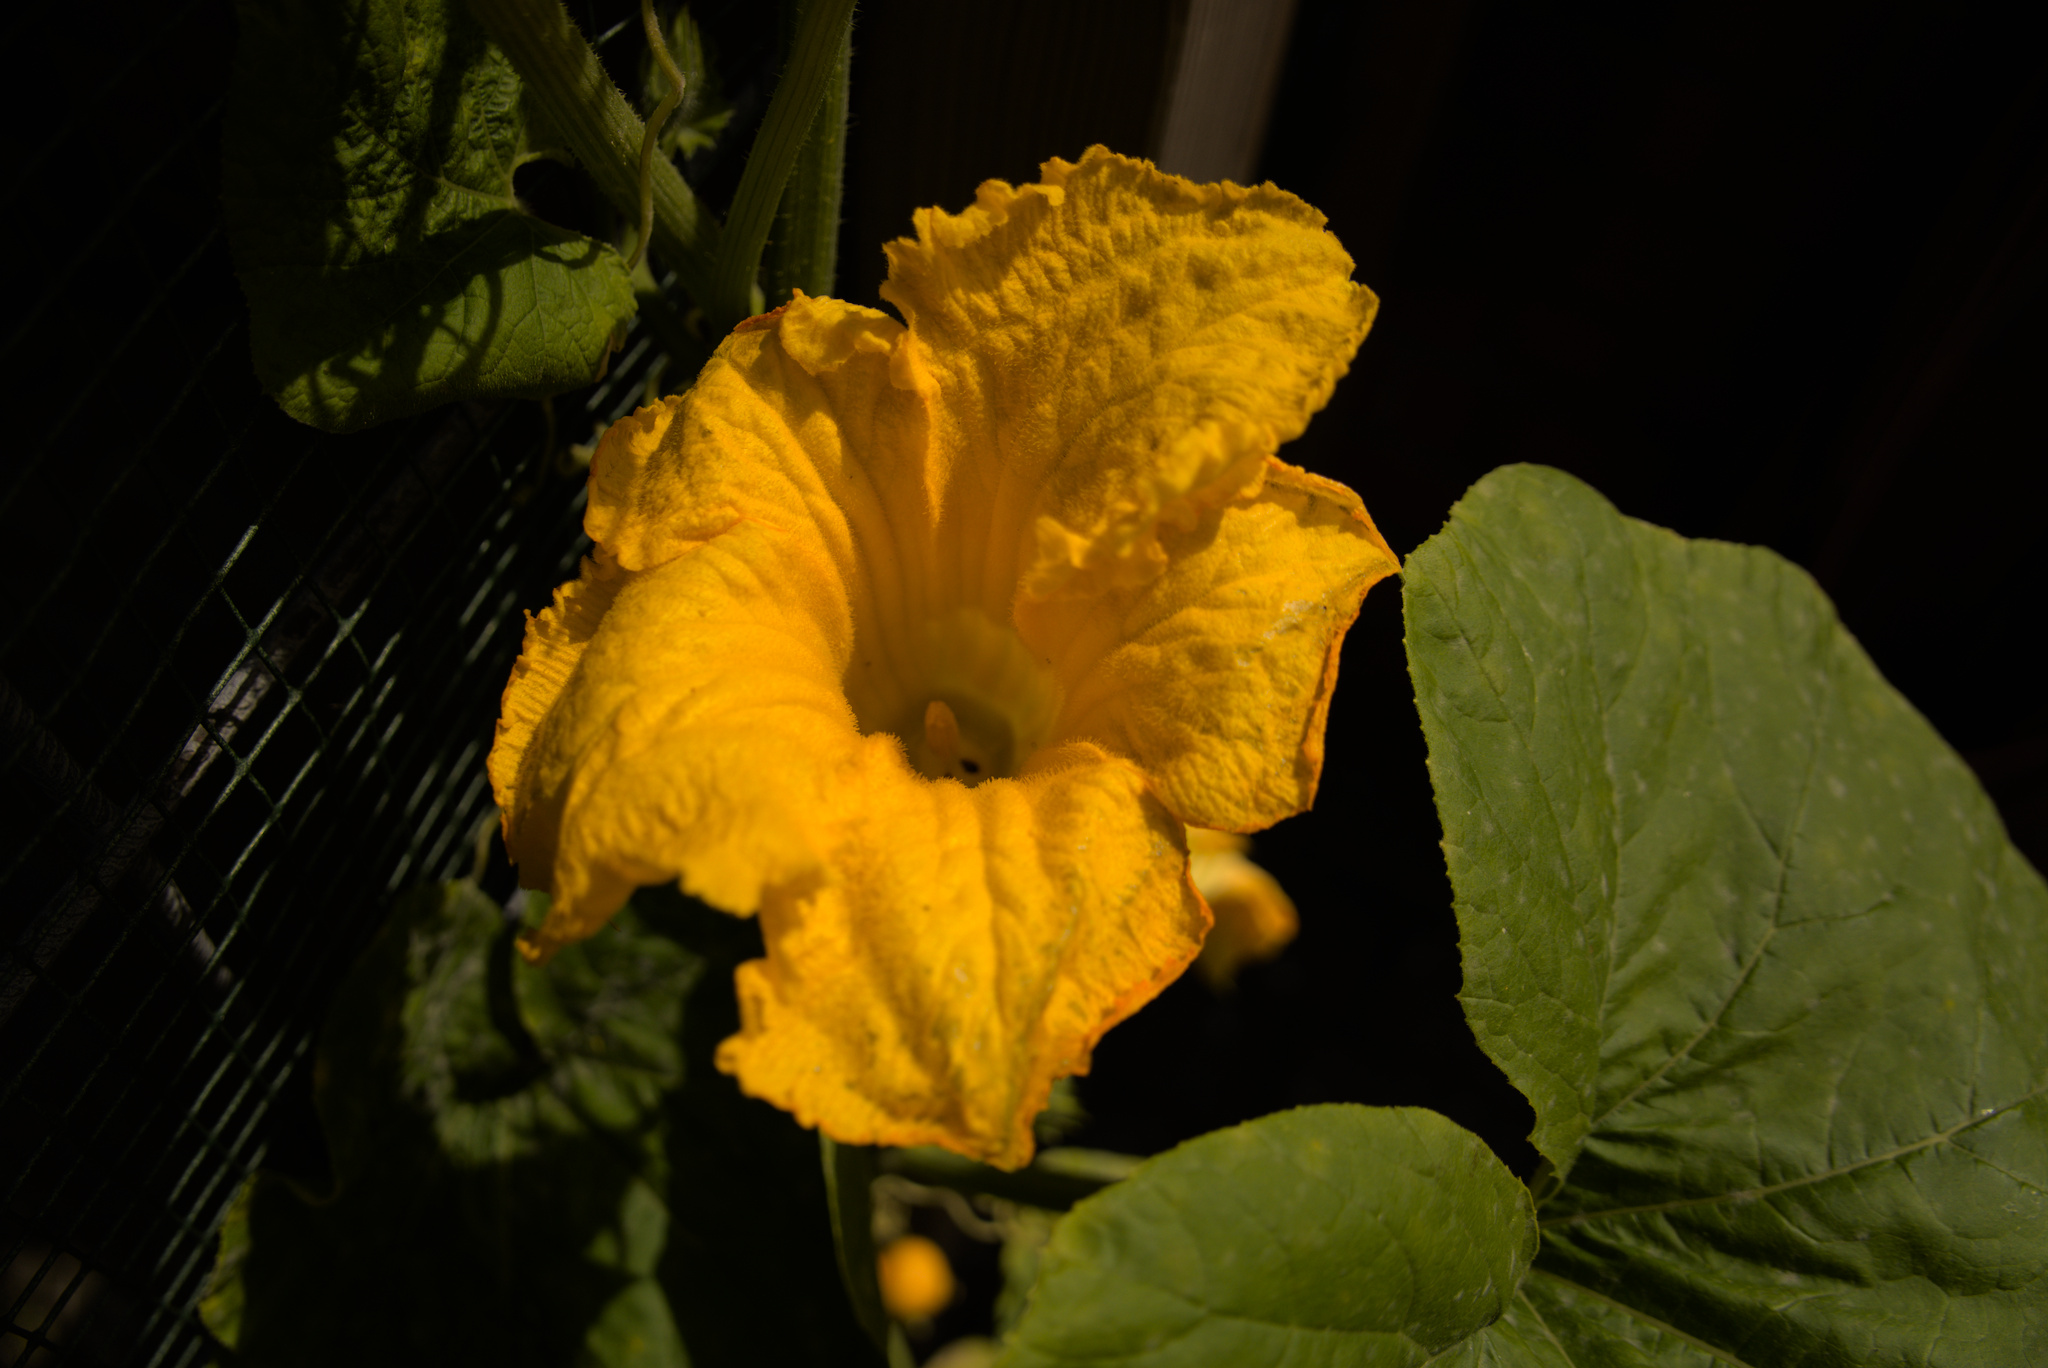
Pumpkin Flower
Published:
2023-07-05
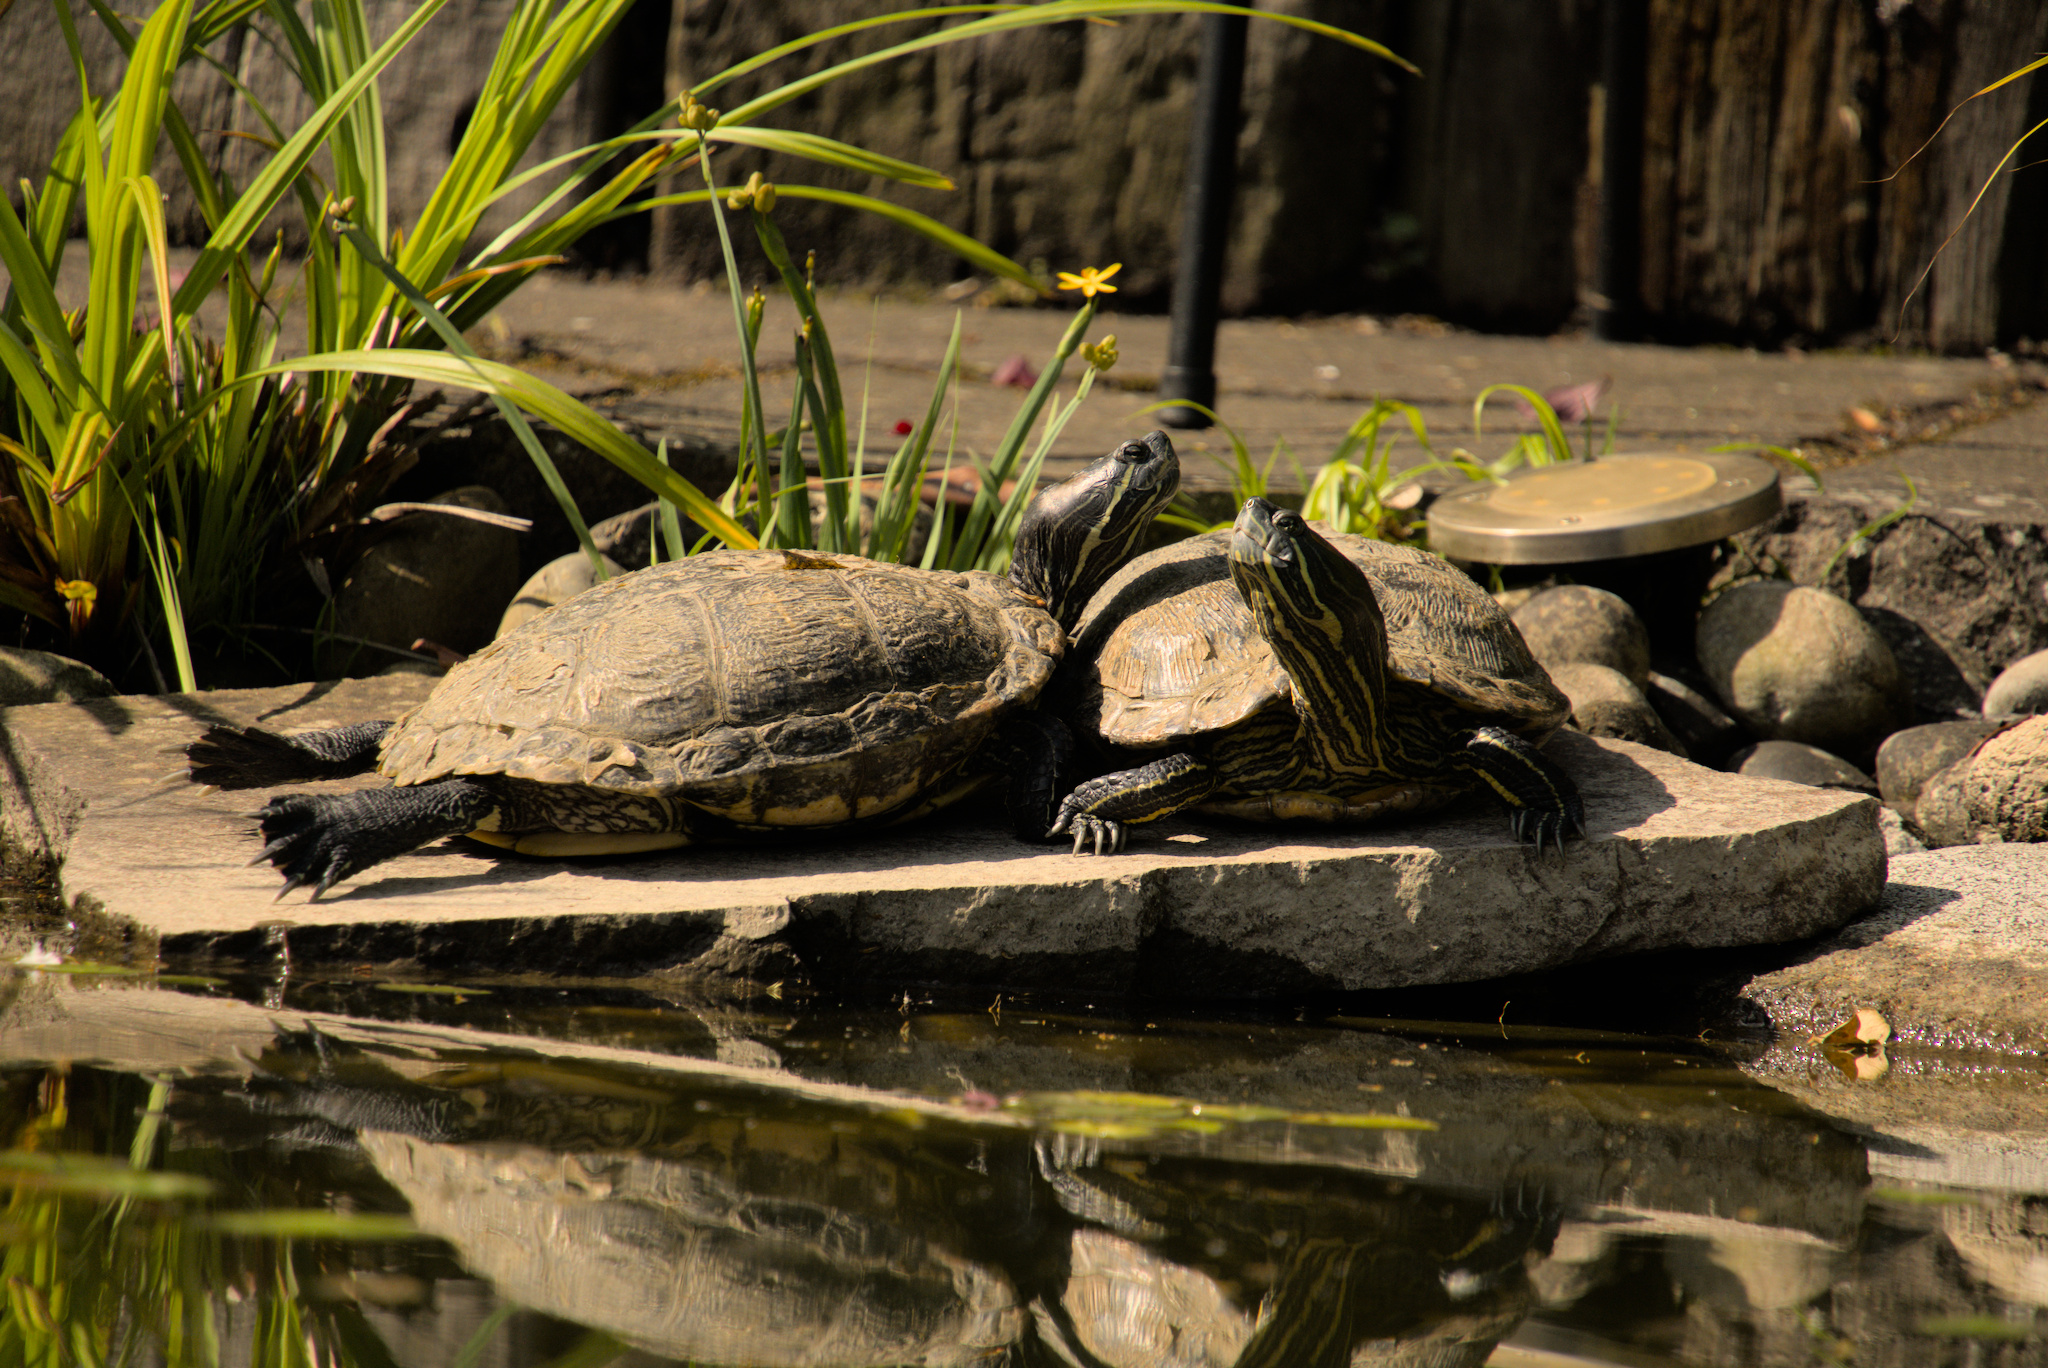
I like Turtles
Published:
2023-07-05
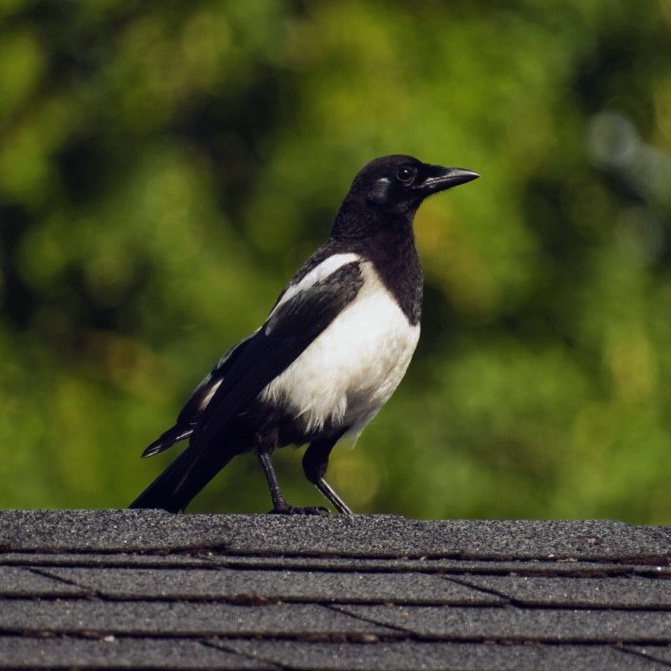
Elster
Published:
2023-07-02
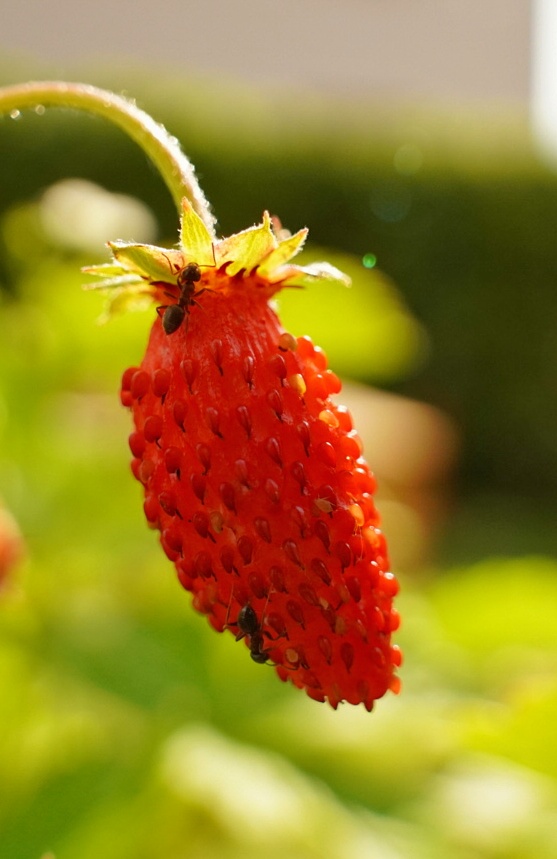
Ants on a Strawberry
Published:
2023-06-27
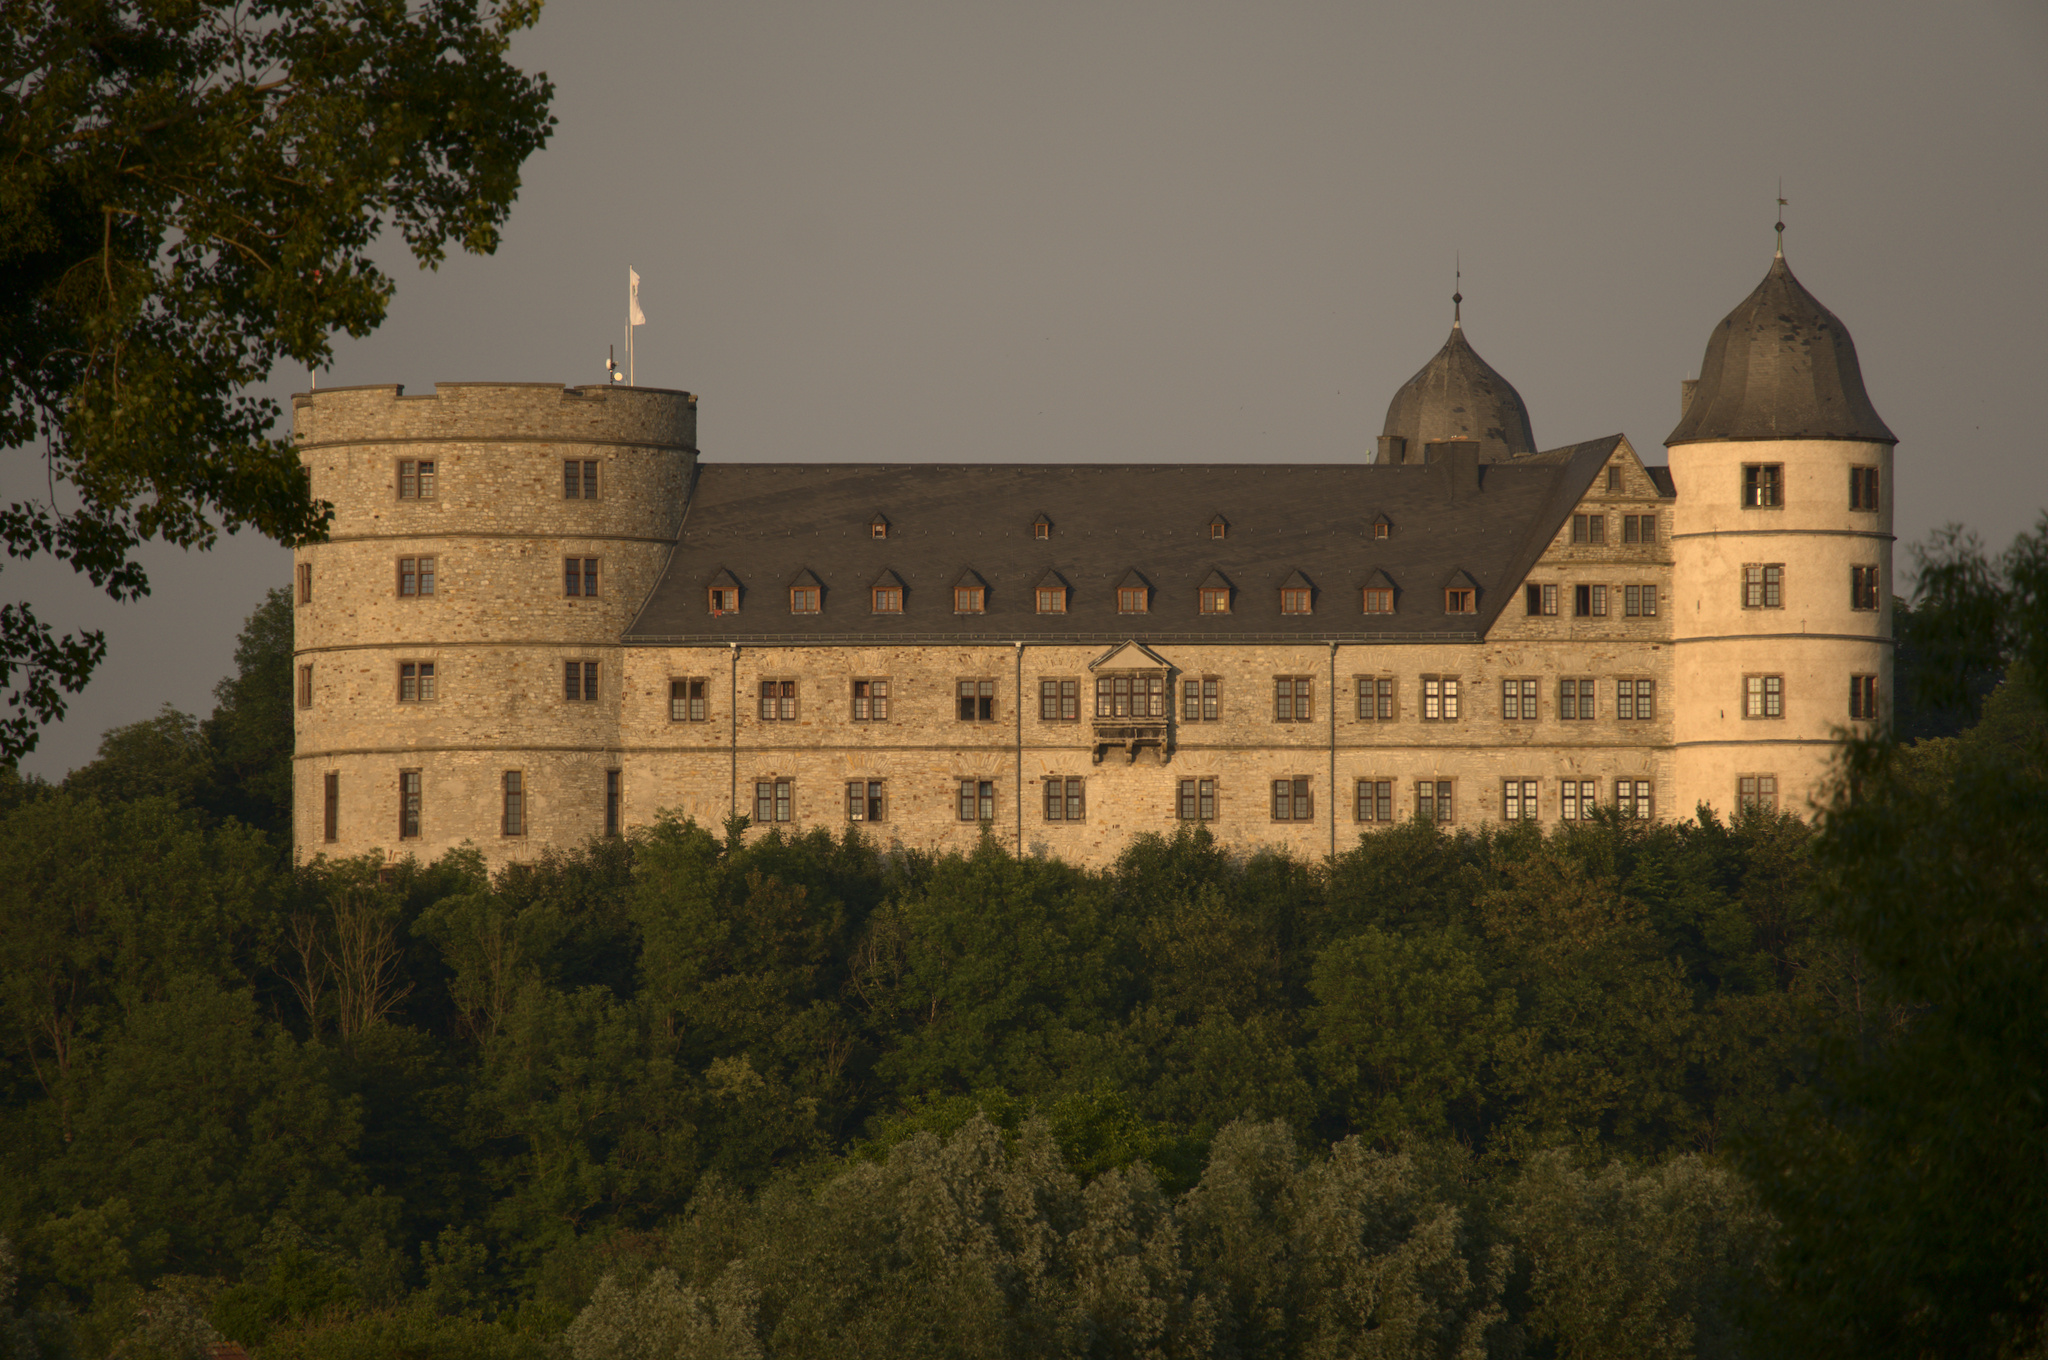
Wevelsburg 2
Published:
2023-06-25
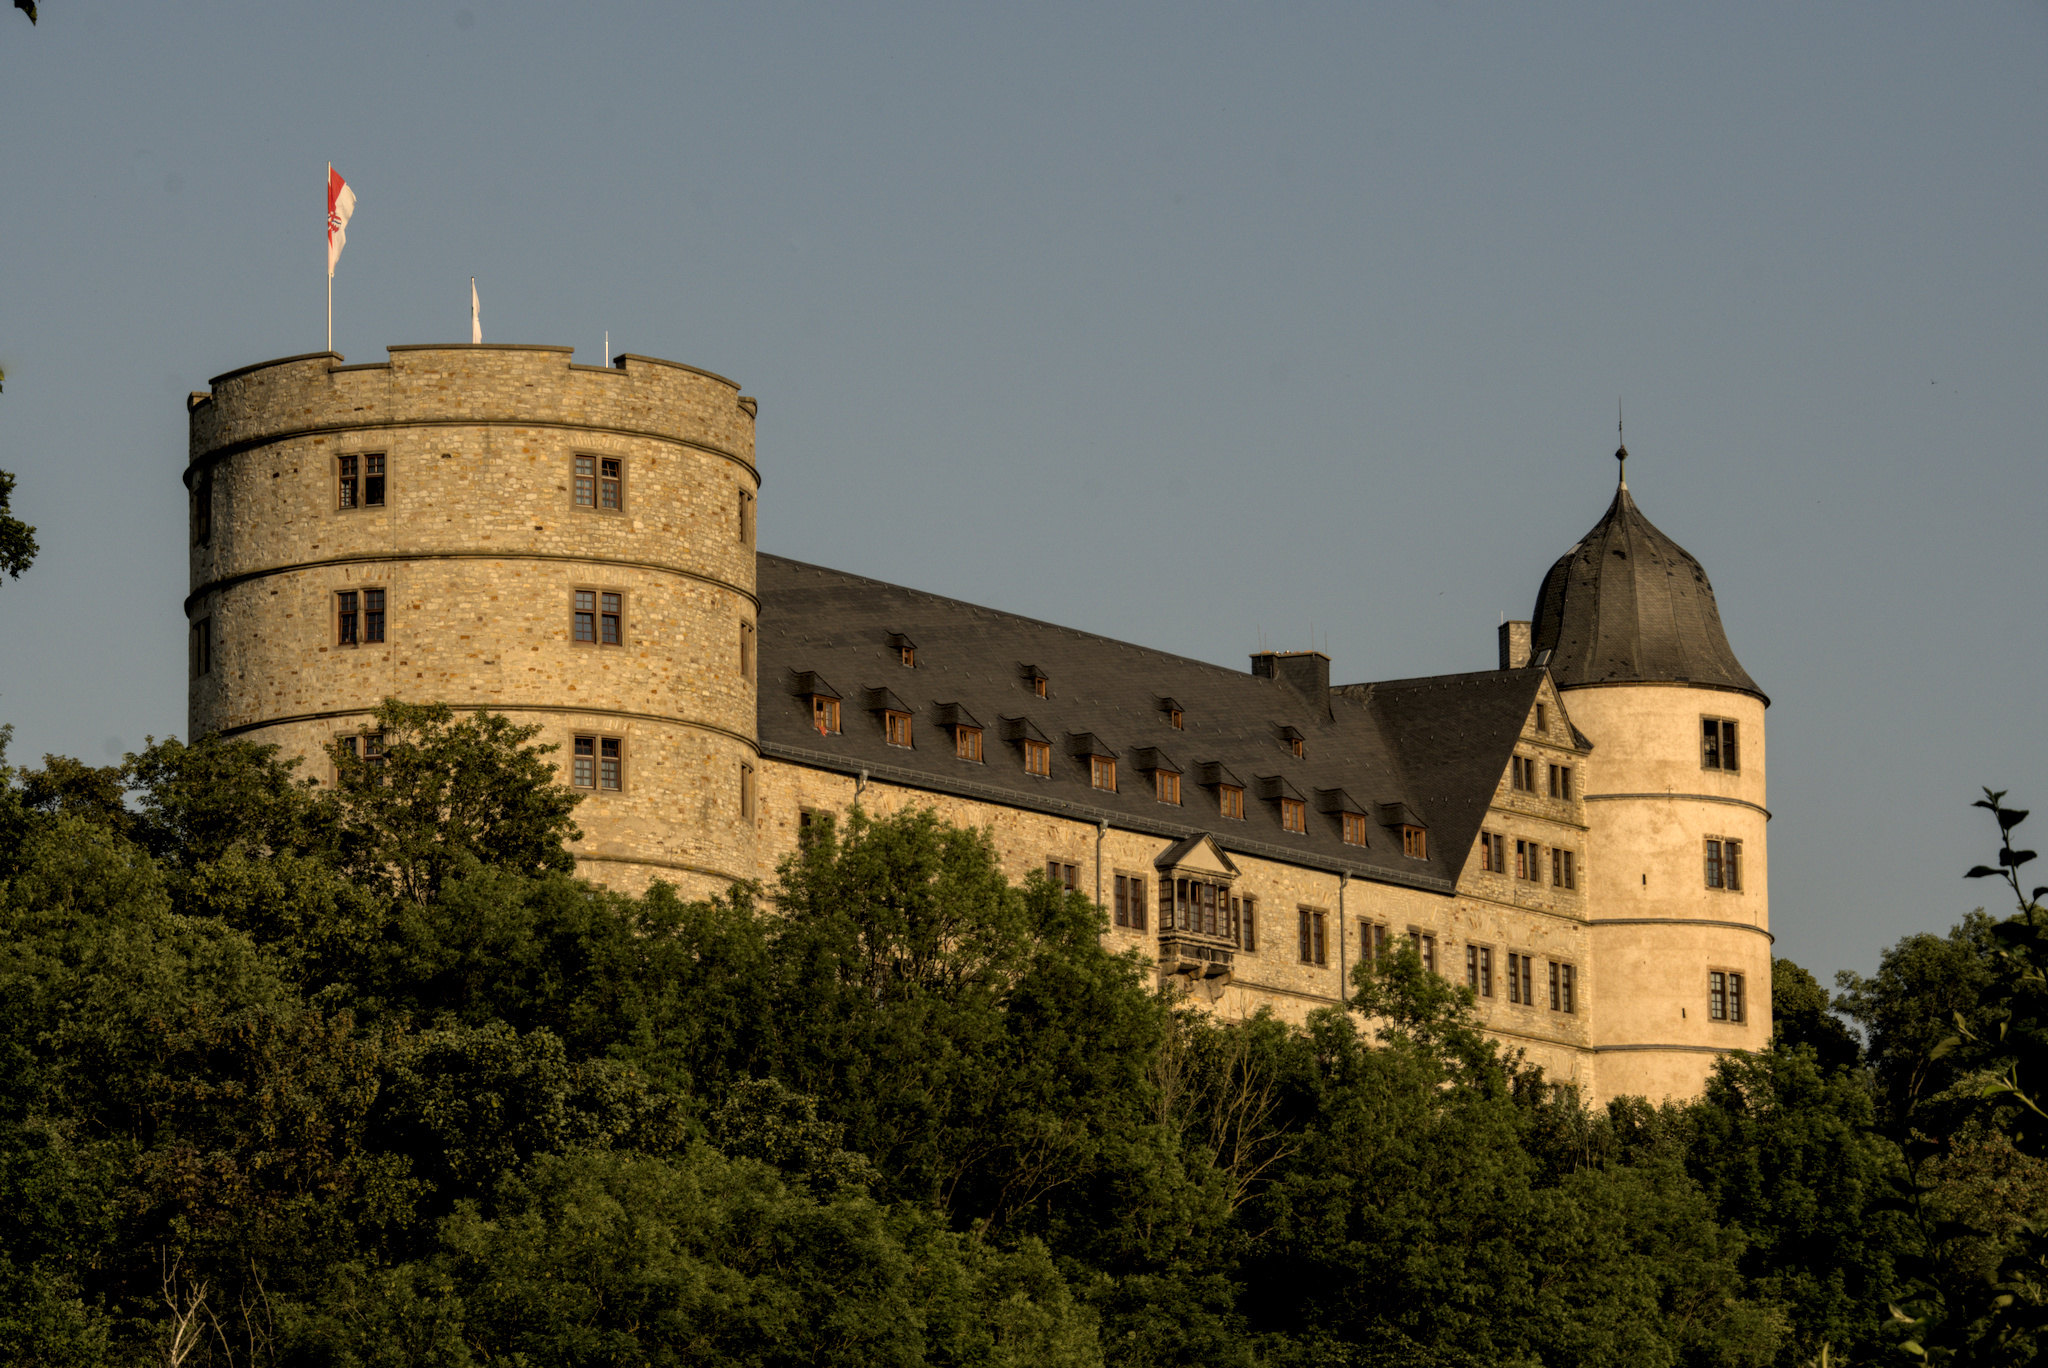
Wevelsburg 1
Published:
2023-06-25
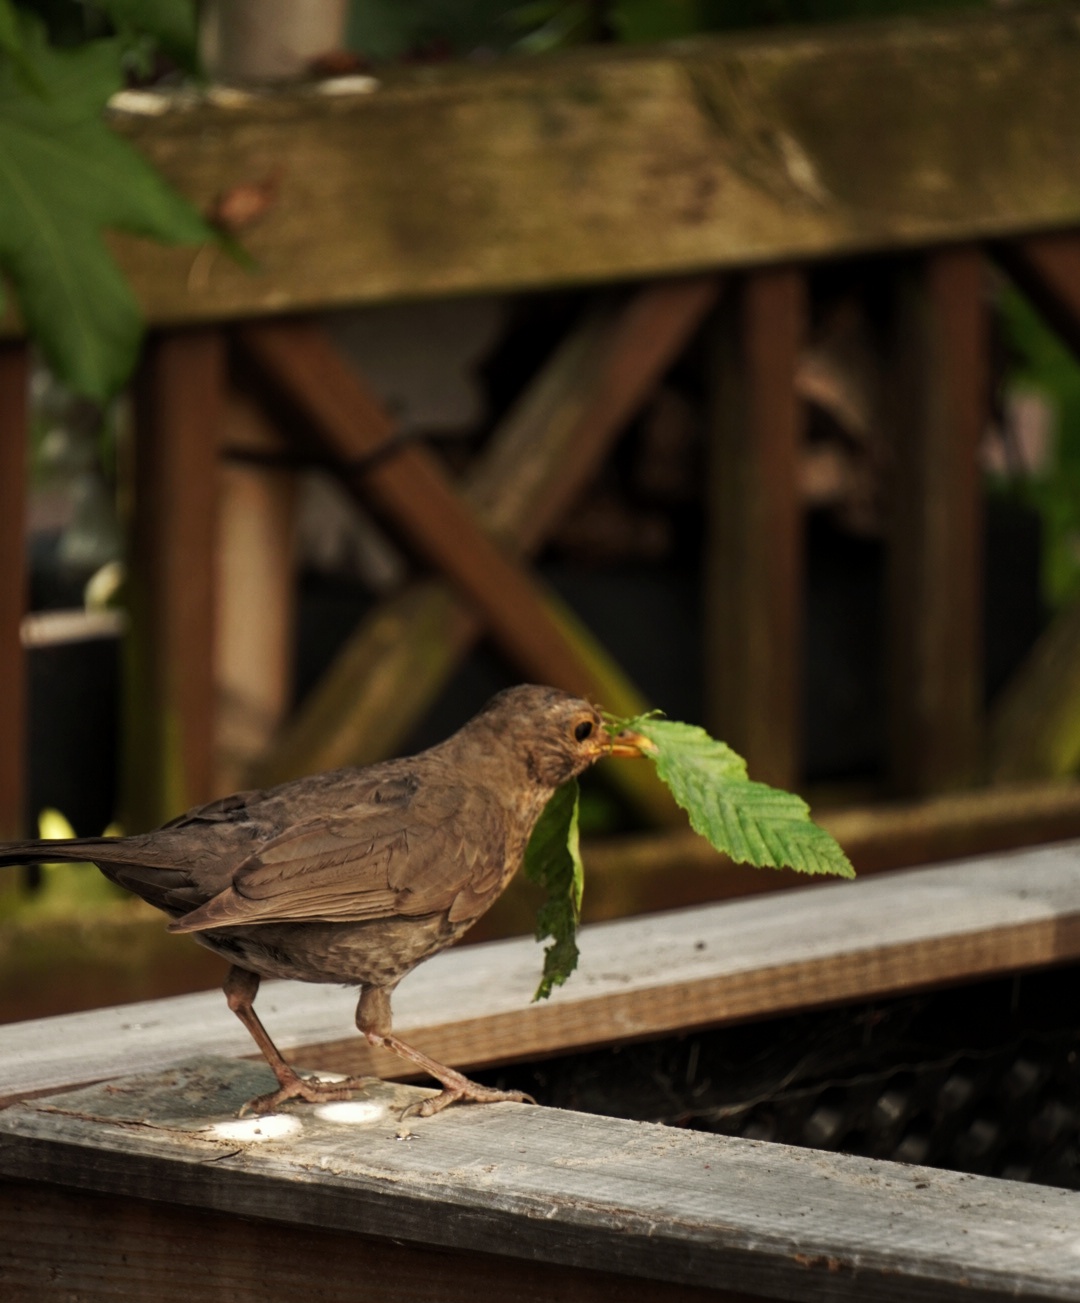
Bird with leaf
Published:
2023-06-24
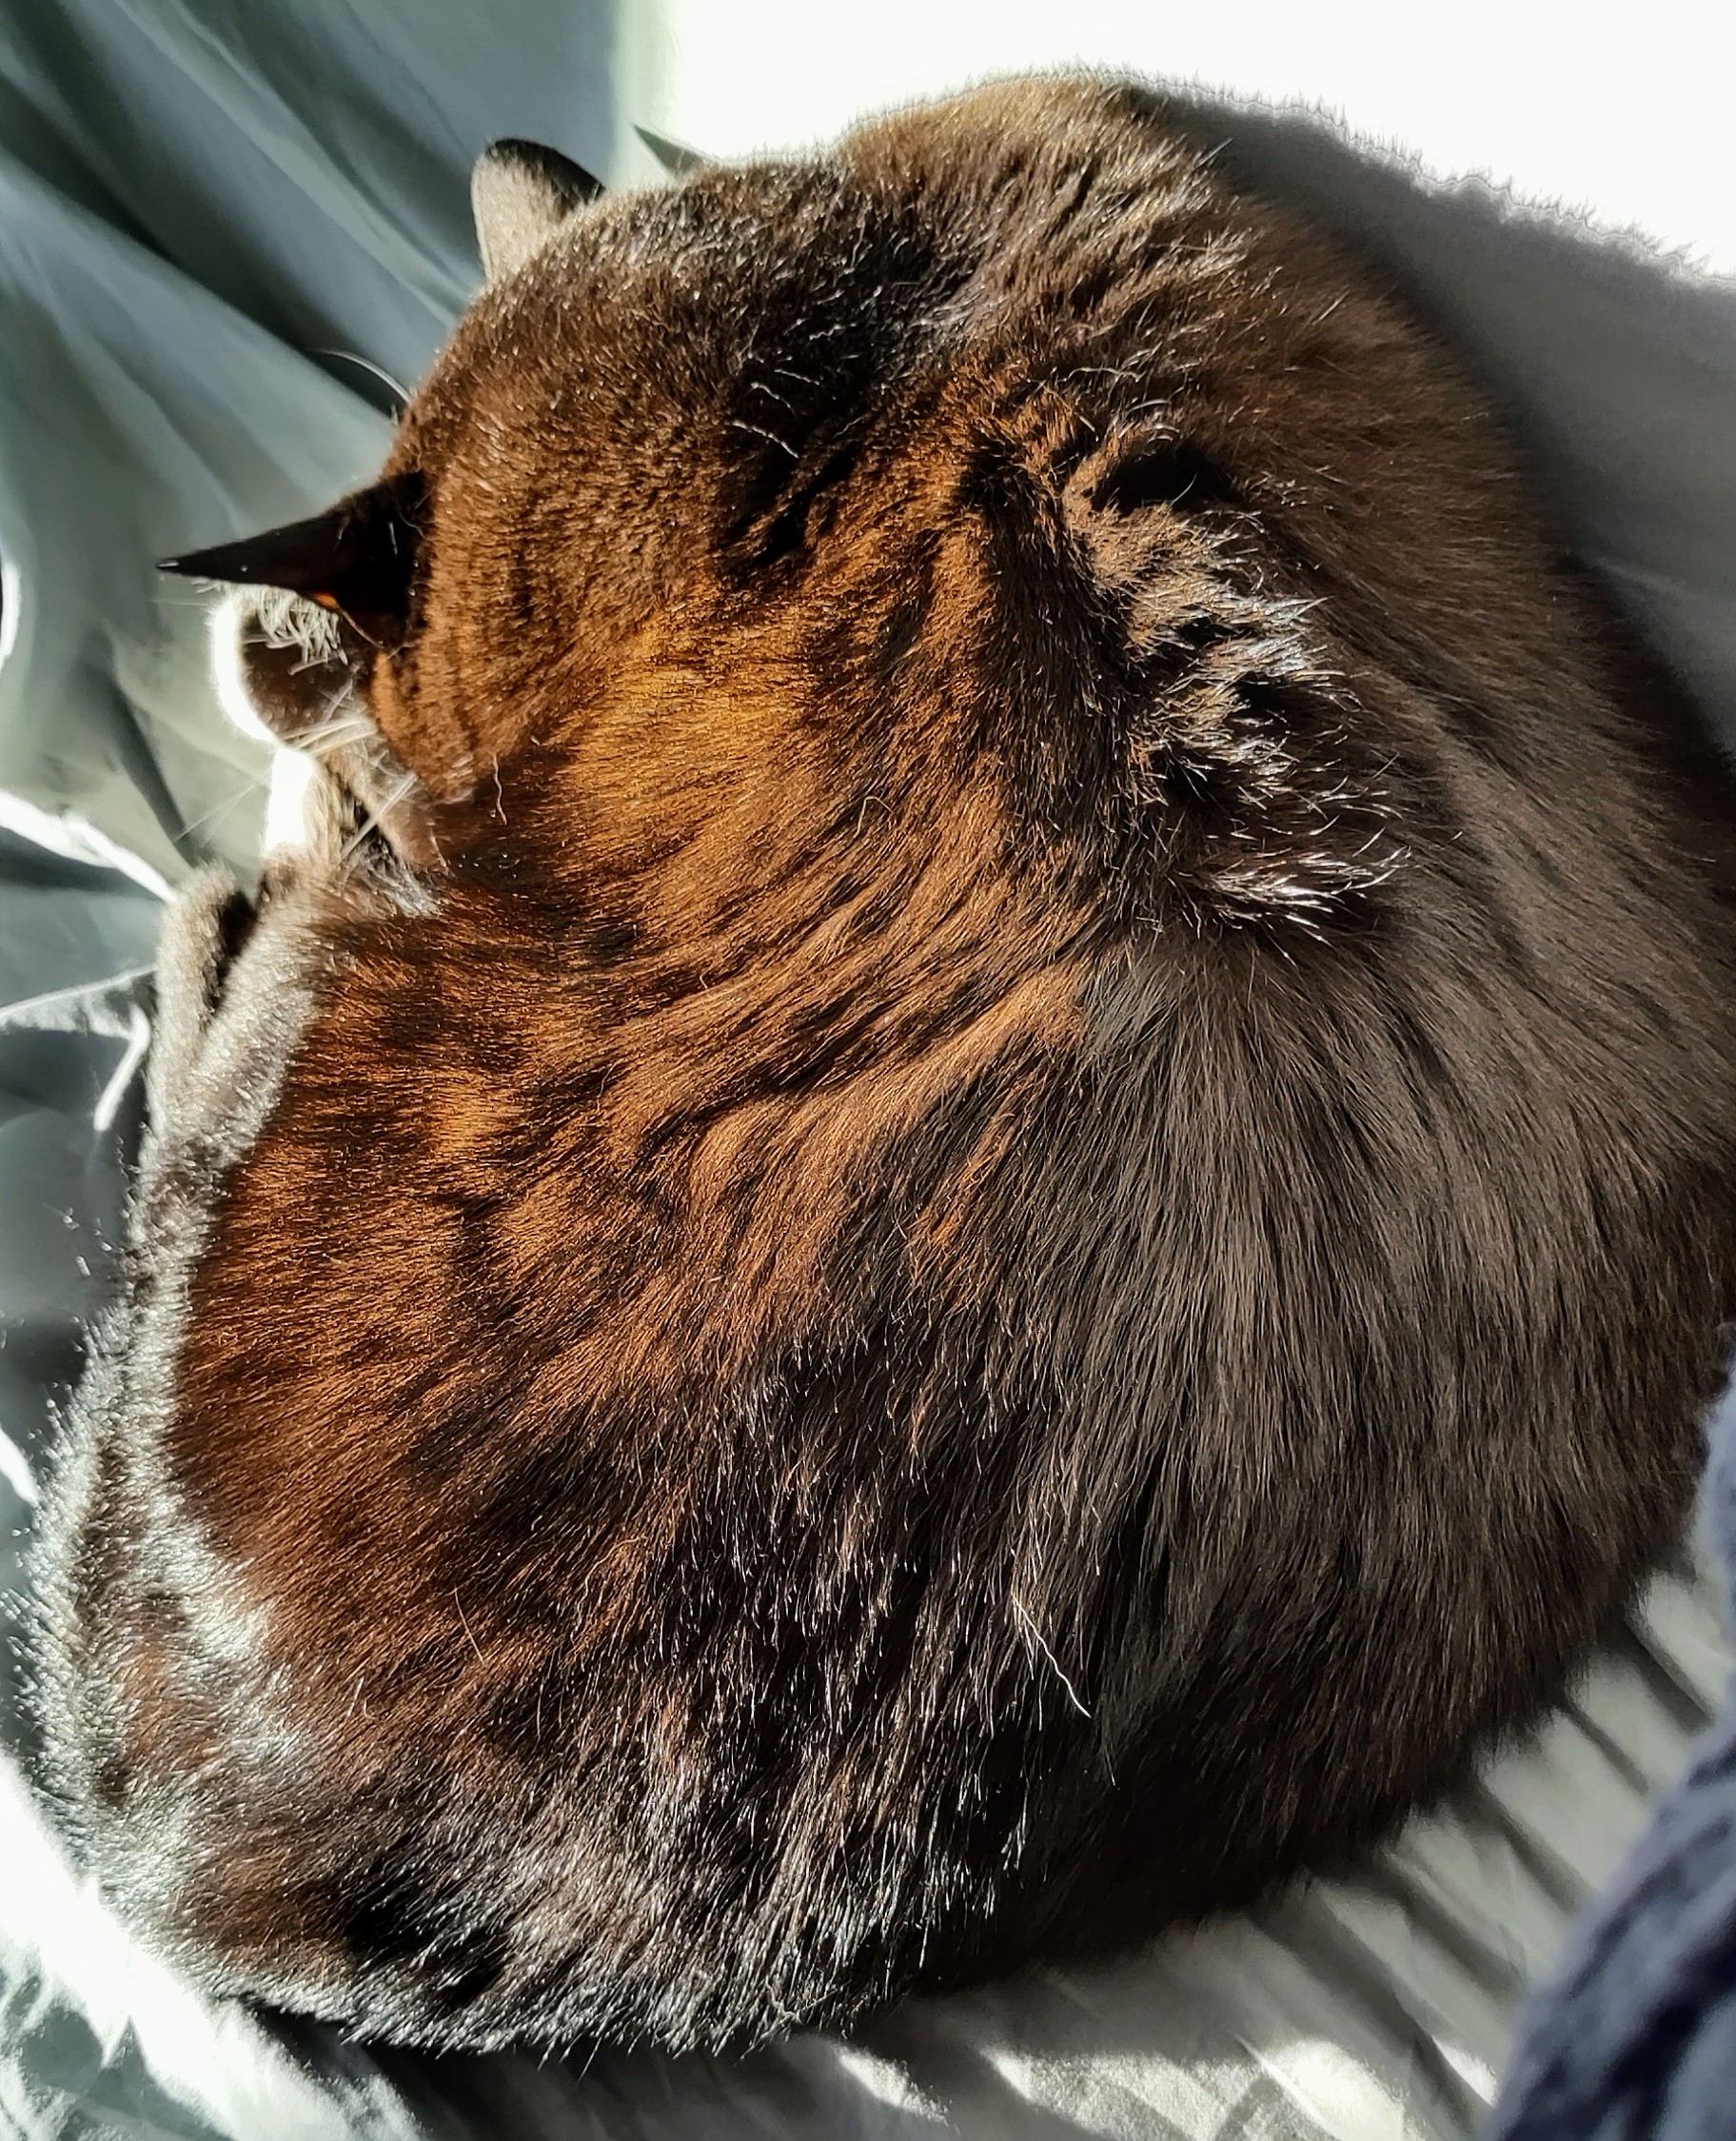
Sunbathing
Published:
2023-06-20
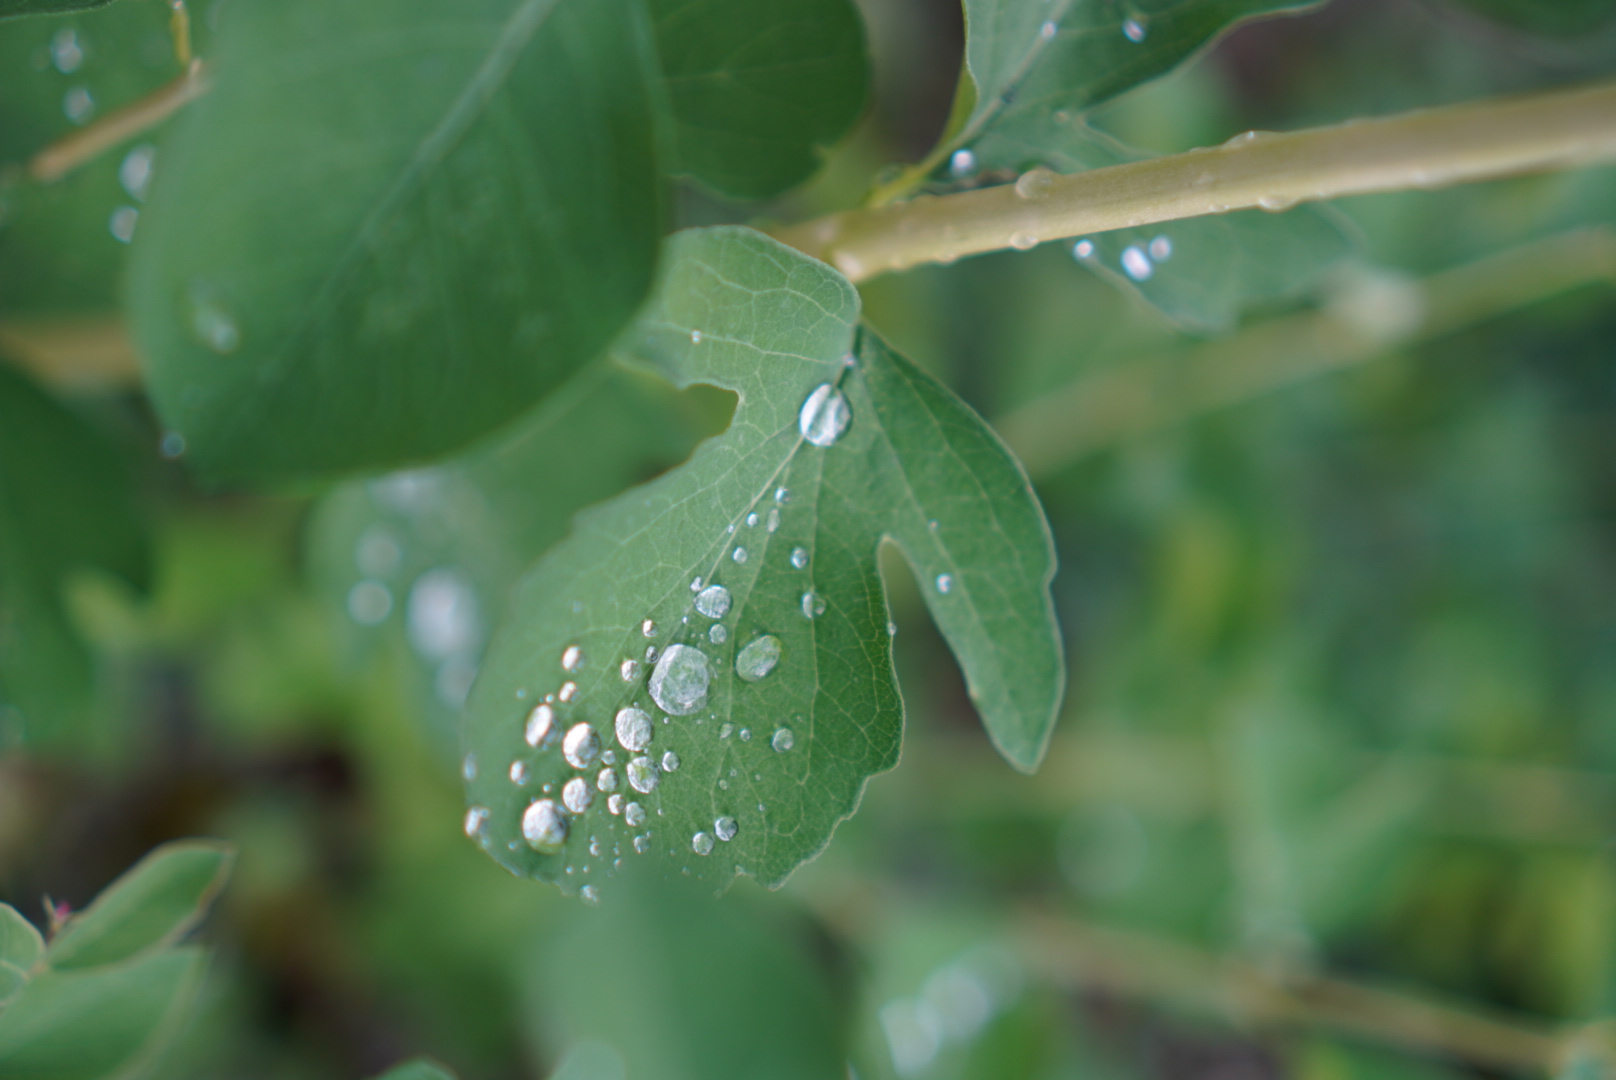
Raindrops
Published:
2023-06-20
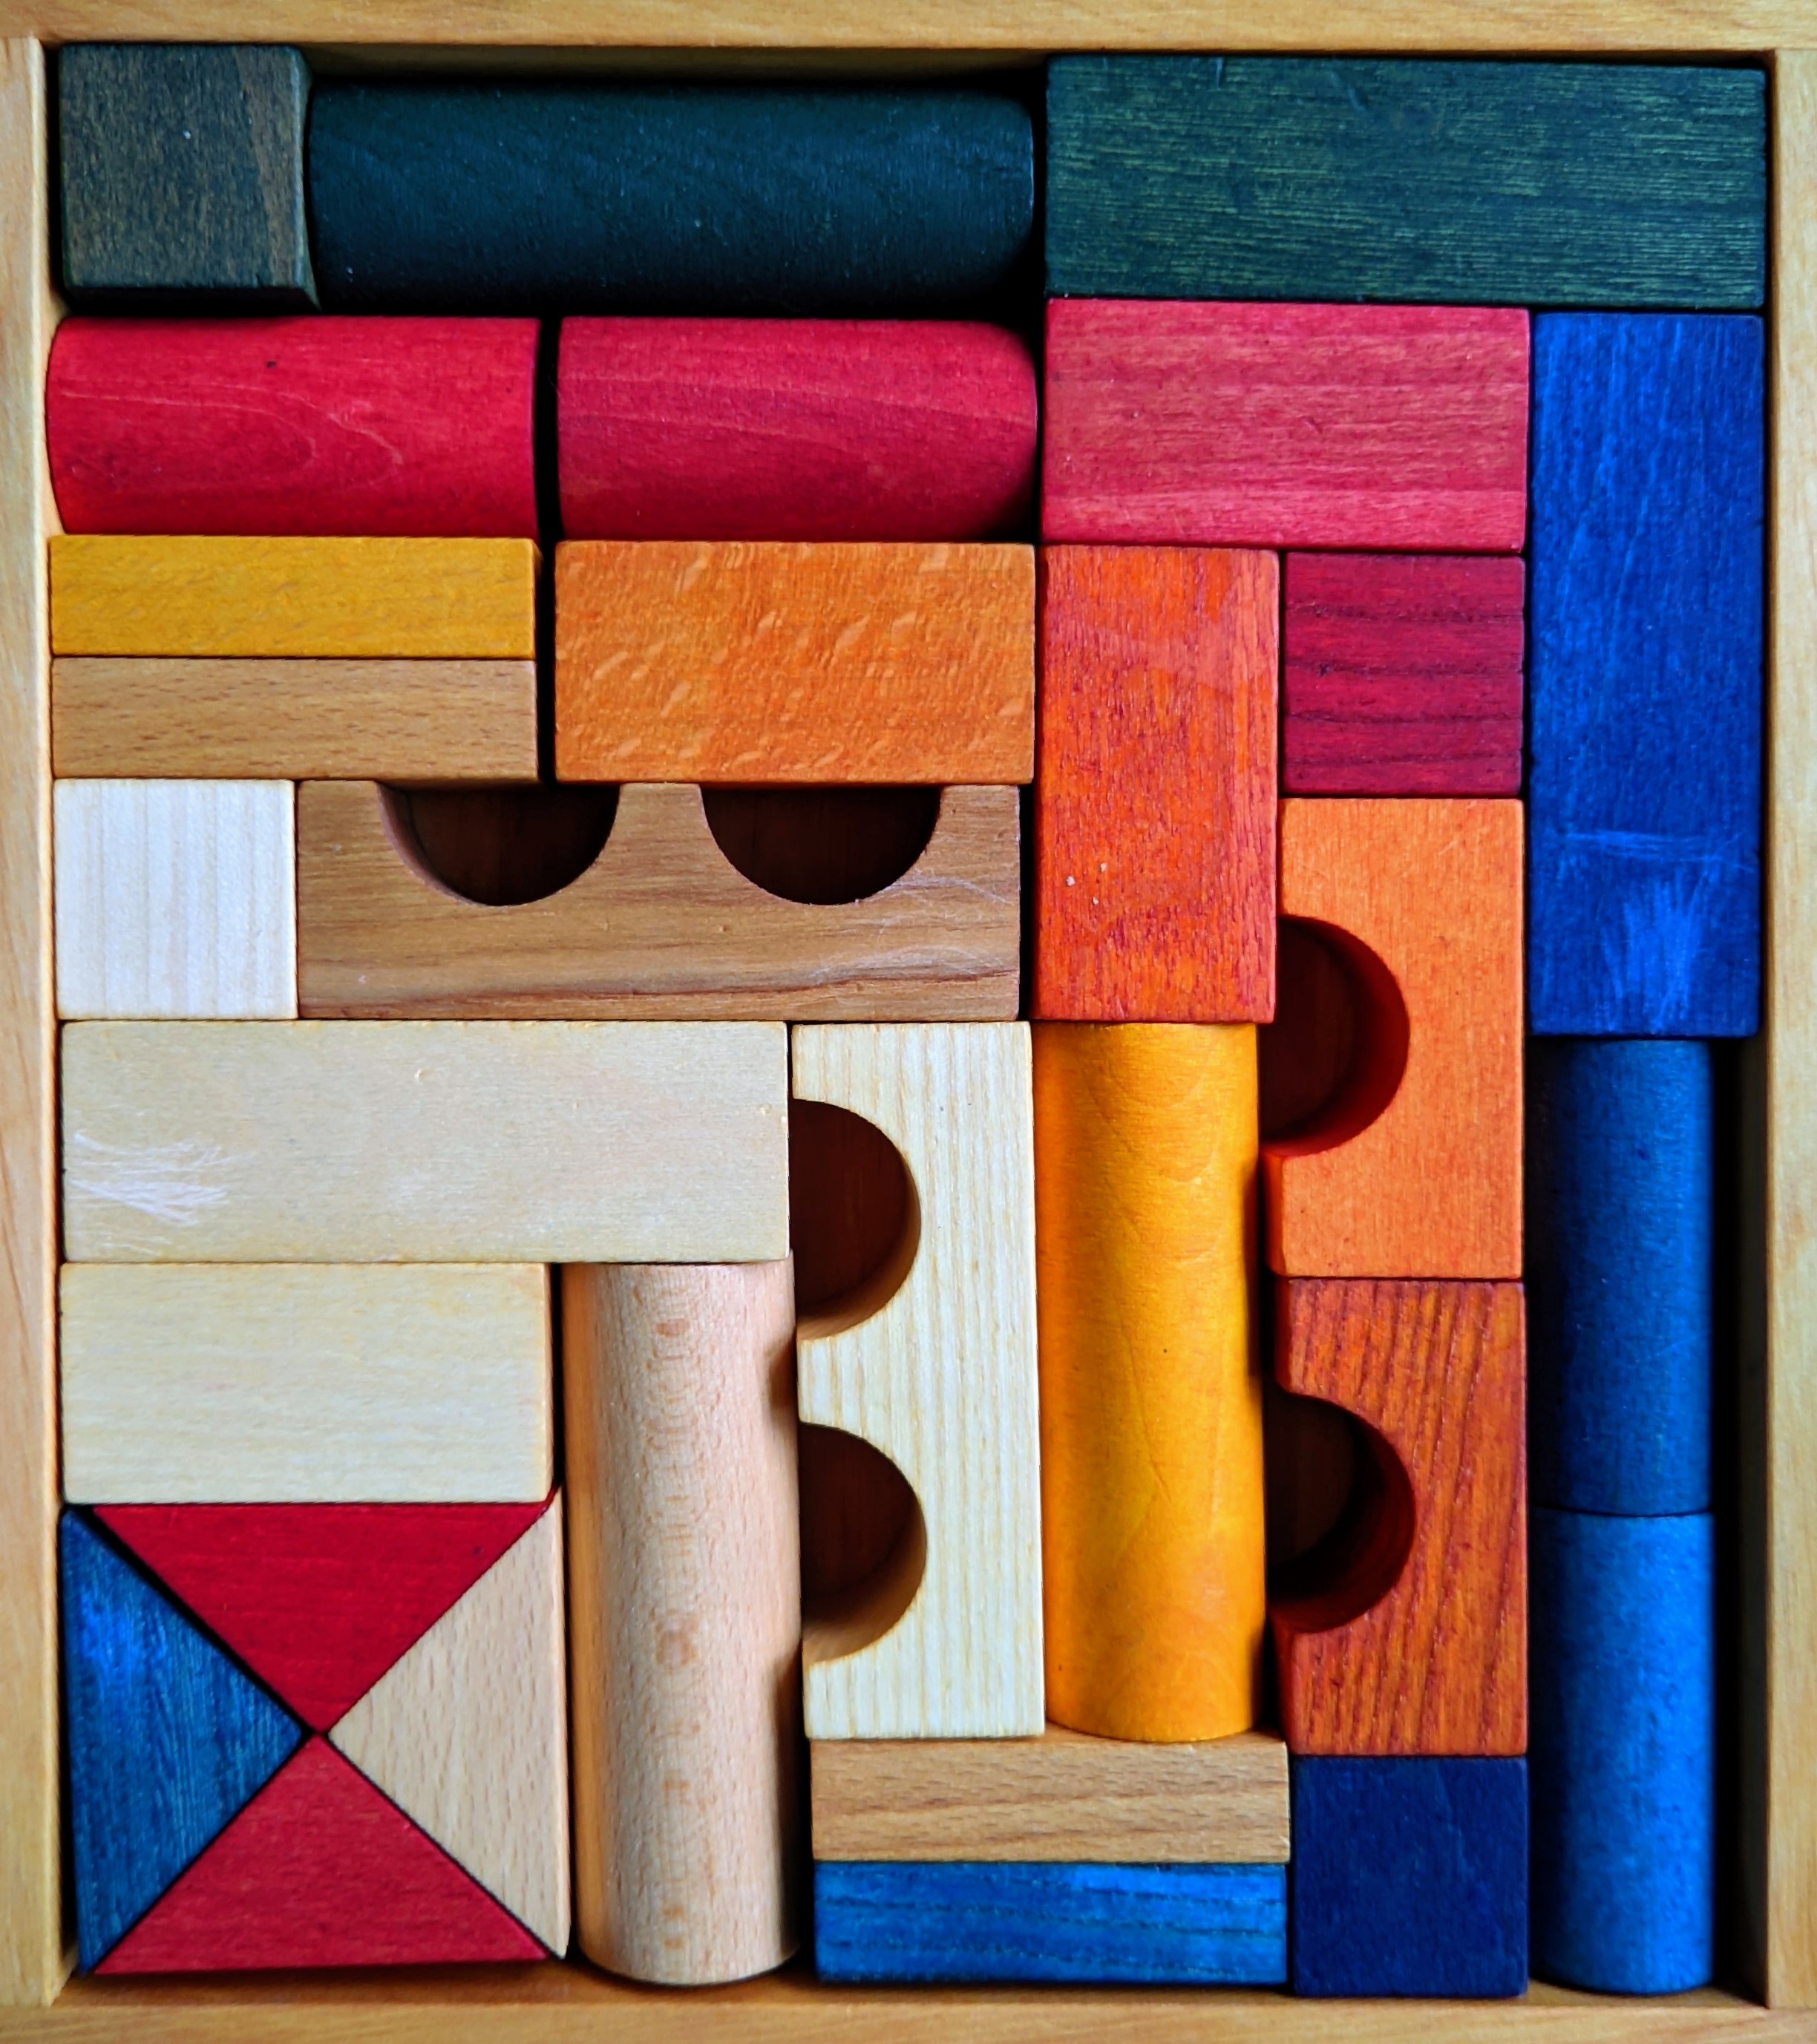
Blocks
Published:
2023-06-19
Prev
Page 14
Next